
This is a guide on hosting your own Searx instance with Filtron reverse proxy and Morty result proxy.
What is Searx? #
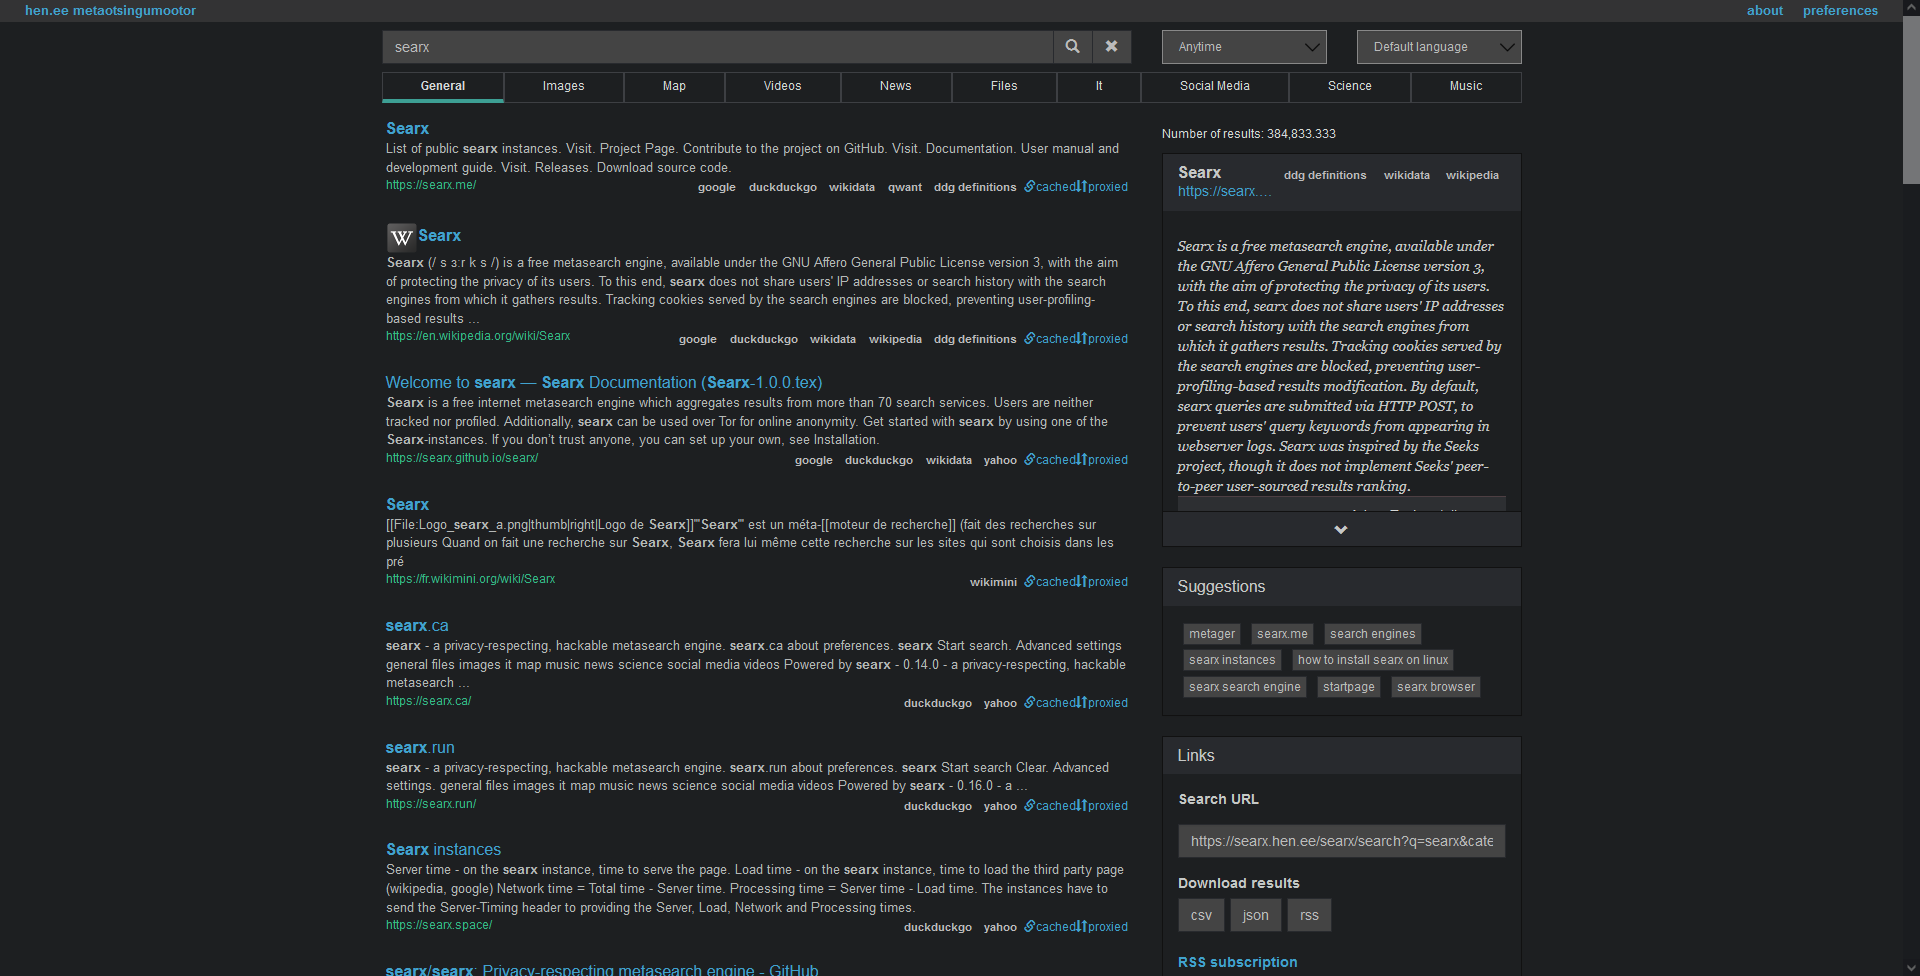
Searx is a privacy-respecting meta-search engine. It is not a regular search engine like Brave Search, Bing or Google which indexes information from pages by using their bots. A meta-search engine asks other search engines for results and presents them to you. It is also free, open-source and hackable.
It can also act as a proxy for these search engines as your server is doing the requests to Google not your machine which is more private while still having Google’s results. One downside can be the speed due to it having to pull information from another server; some engines might be slower than others and that is shown on Searx’s settings.
You can find a public instance to test it here or use my instance.
What is all this Filtron or Morty stuff? #
Filtron is an application firewall, a middleware between Searx and Nginx (webserver). It avoids abuse from your server and limits requests. Essentially it protects your server from bad people or bots.
Morty is a result proxy which proxies images and websites. It downloads images and displays them from your server like Searx does to search queries. You can also view websites through your server privately without using your machine to request that website, almost like a VPN cough.
First things first #
This guide uses Ubuntu/Debian but can be used on CentOS as well with minimal changes. This guide has been tested on aarch64 and amd64 architectures both on Ubuntu 20.04. Change example.com to your domain.
First we will make a subdomain. This is different from all registrars but make a CNAME record (or A record if you have your IP address) for your domain like so: (Some will like the dot at the end, some will not)
searx 1800 IN CNAME example.com.searx 1800 IN A 127.0.0.1 (change the IP)Cloudflare’s DNS for example:

Setting up Environment #
When you have done that, we will update the system. You will need Nginx and Git for this, these commands will install it for you. You should have sudo privileges and be a user other than root; it is preferred that way due to permission errors you might encounter while being root.
$ sudo apt update
$ sudo apt upgrade
$ sudo apt install git nginx
Installing Searx #
We will clone the Searx repository. Do this in your home directory.
$ git clone https://github.com/searx/searx searx
$ cd ./searx
Now we will use the install script to install Searx, Filtron and Morty. Some questions will come up, press enter to all of them.
$ sudo -H ./utils/searx.sh install all
$ sudo -H ./utils/filtron.sh install all
$ sudo -H ./utils/morty.sh install all
Check if all services are running.
$ sudo systemctl status searx
$ sudo systemctl status filtron
$ sudo systemctl status morty
If everything is installed and all services are running, we can set up Nginx.
Nginx Config #
Make sure Nginx is running (if it’s not running you can check for errors using the command nginx -t).
$ sudo systemctl status nginxMake a config file for Searx /etc/nginx/sites-available/searx.conf and edit it with your favourite text editor for example nano:
$ sudo nano /etc/nginx/sites-available/searx.confPaste the following content in there and replace example.com with your domain name.
server {

        # Listens on http
        listen 80;
        listen [::]:80;

        # Your server name
        server_name searx.example.com;

        root /usr/local/searx/searx-src;

        # If you want to log user activity, comment these
        access_log /dev/null;
        error_log  /dev/null;

        add_header X-Frame-Options DENY;
        add_header X-Content-Type-Options nosniff;
        add_header X-XSS-Protection "1; mode=block";
        add_header Permissions-Policy "interest-cohort=();geolocation=();midi=();notifications=();push=();sync-xhr=();microphone=();camera=();magnetometer=();gyroscope=();speaker=();vibrate=();fullscreen=();payment=();";
        add_header 'Referrer-Policy' 'same-origin';
        add_header Expect-CT 'enforce; max-age=3600';

        # SSL settings for security (DO NOTE: This disables TLS 1.0 and TLS 1.1
        # + some ciphers, if you have any older browsers and hardware
        # [https://oktasupport.cadence.com/TLS1.2_BrowserSupport.html], it may
        # not work on them)
        ssl_protocols TLSv1.2 TLSv1.3;

        # certbot might have a hard time automatically installing the certificates if these are enabled. You can enable these later if you'd like.

        #ssl_prefer_server_ciphers on;
        #ssl_ciphers ECDHE-ECDSA-AES128-GCM-SHA256:ECDHE-RSA-AES128-GCM-SHA256:ECDHE-ECDSA-AES256-GCM-SHA384:ECDHE-RSA-AES256-GCM-SHA384:ECDHE-ECDSA-CHACHA20-POLY1305:ECDHE-RSA-CHACHA20-POLY1305:DHE-RSA-AES128-GCM-SHA256:DHE-RSA-AES256-GCM-SHA384;
        #ssl_session_timeout  1d;
        #ssl_session_cache shared:SSL:10m;
        #ssl_session_tickets off; # Requires nginx >= 1.5.9
        #ssl_stapling on; # Requires nginx >= 1.3.7
        #ssl_stapling_verify on; # Requires nginx => 1.3.7


        index index.html index.htm;

        # Searx reverse proxy
        location / {
                proxy_pass         http://127.0.0.1:4004/;

                proxy_set_header   Host             $http_host;
                proxy_set_header   Connection       $http_connection;
                proxy_set_header   X-Real-IP        $remote_addr;
                proxy_set_header   X-Forwarded-For  $proxy_add_x_forwarded_for;
                proxy_set_header   X-Scheme         $scheme;
                proxy_set_header   X-Script-Name    /searx;
        }

        location /searx/static {
                alias /usr/local/searx/searx-src/searx/static;
        }

        # Morty reverse proxy
        location /morty {
                proxy_pass         http://127.0.0.1:3001/;

                proxy_set_header   Host             $http_host;
                proxy_set_header   Connection       $http_connection;
                proxy_set_header   X-Real-IP        $remote_addr;
                proxy_set_header   X-Forwarded-For  $proxy_add_x_forwarded_for;
                proxy_set_header   X-Scheme         $scheme;
        }
}
Create a symbolic link between /etc/nginx/sites-available/searx.conf and /etc/nginx/sites-enabled/searx.conf
$ sudo ln -s /etc/nginx/sites-available/searx.conf /etc/nginx/sites-enabled/searx.confAlso create an HTTPS certificate using either certbot or use your SSL certificate. Learn more about creating a certificate with Certbot.
If you have done that you can now restart Nginx and Uwsgi.
$ sudo -H systemctl restart nginx
$ sudo -H service uwsgi restart searx
Go visit your searx.example.com and see if it works! You should see the Searx logo and search bar.
Changing settings #
If you want to change some settings of your Searx instance go edit /etc/searx/settings.yml. Use this guide for more information.
$ sudo nano /etc/searx/settings.yml

### After editing do:

$ sudo -H service uwsgi restart searx
Maintaining Searx #
To update Searx you can use the following commands:
$ cd /usr/local/src/searx
$ sudo -H ./utils/searx.sh update searx
$ sudo -H ./utils/filtron.sh update filtron
$ sudo -H ./utils/morty.sh update morty
Uninstalling Searx #
To uninstall, execute these commands:
$ cd /usr/local/src/searx
$ sudo -H ./utils/searx.sh remove all
$ sudo -H ./utils/filtron.sh remove all
$ sudo -H ./utils/morty.sh remove all
Need help? #
Check out Searx’s Github issues and discussions page. Also check nginx -t for any errors with Nginx.
If you have any issues or questions you can contact me via my e-mail.
Congratulations on setting up Searx and thanks for reading. Support me by donating if it helped you.